
Why Use the WYNG for Real Estate Photography?
Lighting a home properly can be tricky. Windows, shadows, and mixed color temperatures often make natural light alone fall short. The WYNG helps control, shape, and soften your flash so you can get professional-looking results without bulky modifiers. It’s lightweight, easy to attach, and works seamlessly with flashes like the Canon 600EX.
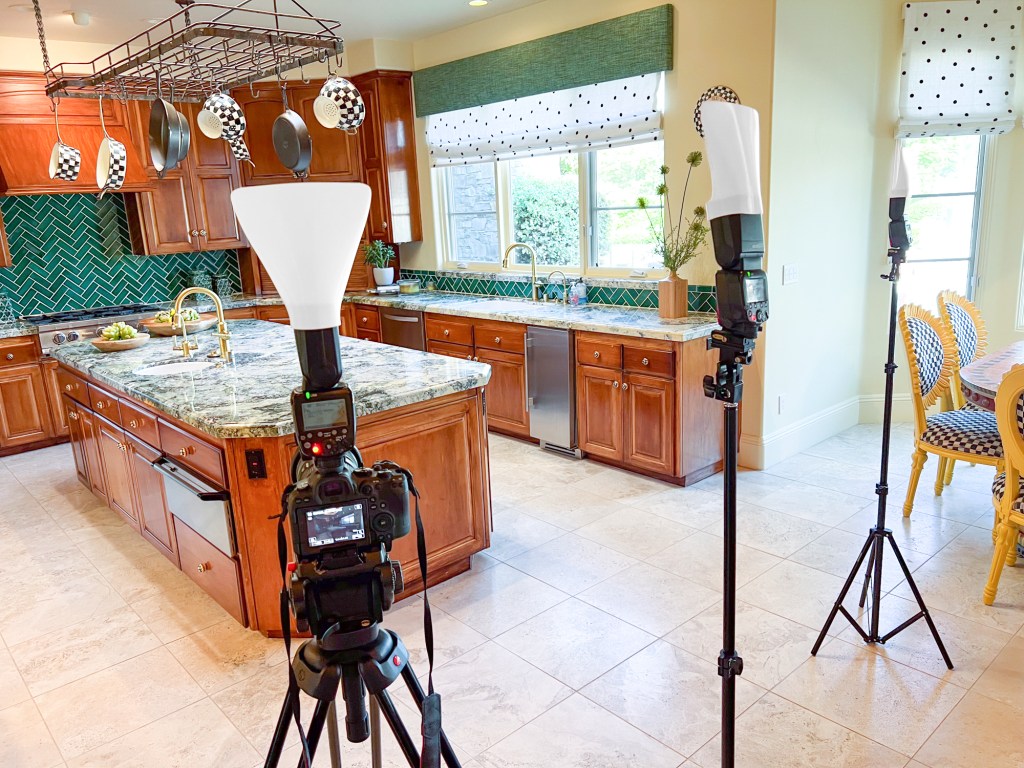
Step 1: Use One Flash as the Master
Start by setting one of your flashes as the master. Make sure it’s set to manual, not TTL. Shooting in manual ensures you get the full power and consistency of the flash without the camera making automatic adjustments.
Pro tip: If you prefer more flexibility, you can also use a wireless trigger and place your master flash off-camera for better control.
Step 2: Add Slave Flashes for Balance
Next, set your other flashes to slave mode and place them where extra light is needed—corners of dark rooms, near hallways, or areas where natural light doesn’t quite reach. This setup lets you build a balanced exposure across the entire room without hotspots or deep shadows.
Step 3: Lock Down Your Camera
Place your camera on a tripod and set the drive mode to a 3-second timer. This gives you time to press the shutter and let go, avoiding any camera shake that could blur your shot.
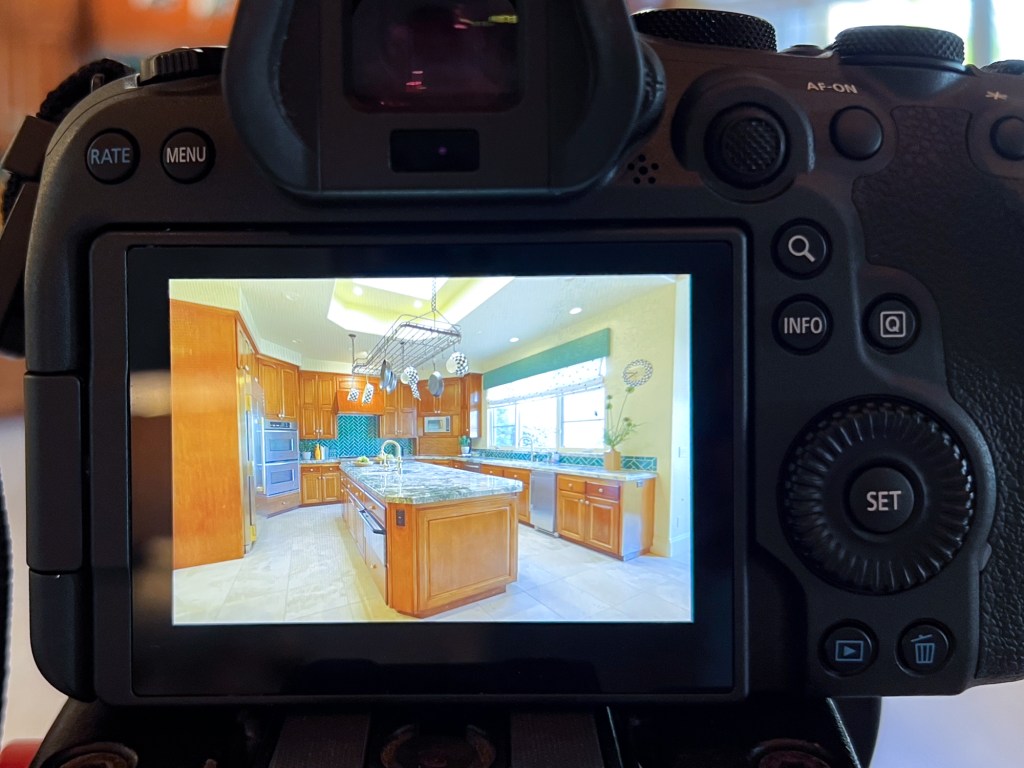
Step 4: Capture Your Ambient Shot
Before adding flash, capture an ambient light shot. This will give you the natural light base of the room to work with.
Recommended settings for ambient shot:
- Mode: Manual
- Shutter: Adjust until the room looks evenly lit (as if it were your only shot)
- ISO: 400
- Aperture: f/6.3
This shot preserves the natural feel of the space, including window light and warm room tones.
Step 5: Add the Flashes for Fill Light
Now turn on your flashes with the WYNG attached and take your fill shot. The flashes will brighten shadows, even out lighting, and give the space a polished look without looking artificial.
Recommended settings for flash fill shot:
- Mode: Manual
- Shutter: 1/60 – 1/100 sec
- ISO: 200–400
- Aperture: f/6.3
The WYNG helps soften and spread the flash, preventing harsh hotspots on walls, ceilings, or furniture.
Step 6: Capture the Window Pull
Finally, take a window pull shot to ensure the outdoor view is properly exposed. Aim your flash or flashes toward the window so the interior stays balanced while the outside exposure is captured.
Recommended settings for window pull:
- Mode: Manual
- Shutter: 1/160 sec
- ISO: 200
- Aperture: f/6.3
This frame gives you the detail in the exterior view that can later be blended into your final image.
Wrapping Up
The WYNG is the key to making this setup shine. It transforms a standard flash into a versatile tool that delivers soft, controlled light perfectly suited for real estate interiors. Without bulky modifiers or complicated gear, the WYNG allows you to shape your flash so rooms feel bright, natural, and welcoming rather than flat or overly lit.
By pairing the WYNG with your ambient exposure and strategic flash placement, you now have three essential images to work with: the natural ambient frame, the balanced flash fill, and the window-pull to show outdoor areas that ties it all together. With these captures complete, you can move into post-production. In my workflow I use Photoshop to blend the shots, creating a polished final image that retains the natural atmosphere of the home while benefiting from the clean, even lighting the WYNG provides.

The end result is a professional-quality photograph that looks natural, feels inviting, and showcases the property in the best possible light, all made possible by the WYNG using the gear you already own.
Ready to upgrade your lighting?
Comments are closed, but trackbacks and pingbacks are open.